
Last night at the Wollongong Wargamers we set up a mini practice game for a forthcoming Team Yankee demo game at the Illawarra Plastic Modellers Association show. We were figuring out the scenario, how the terrain looked, and the balance of forces, as well as checking our pooled resources.

The basic ideal is a rehash of an old favourite when given access to two long tables: two adjacent attack corridors, one on each table, for the Warsaw Pact to advance down in the critical Fulda Gap area: Rasdorf - Leibolz; and Grusselbach - Unterrufhausen. On the day we will have four forces: for NATO, US and Bundeswehr; for WarPact, Soviet and East German.
 |
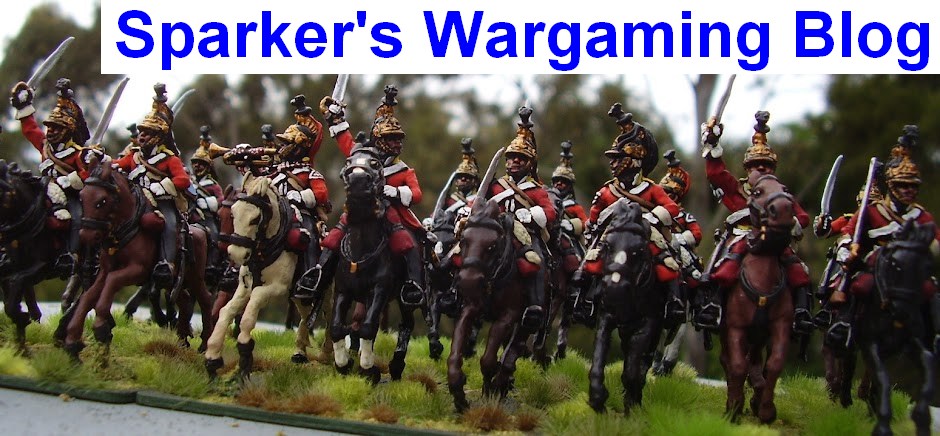
| View of the Rasdorf valley from the Inner German Border looking west. |
For this evening we would just be using one table and playing out the Rasdorf valley table:


The Soviet force was mainly T-80s:


The US team, Peter and Stuart, set up their anti-armour ambushes on both sides of the valley:

Ed took one company of T-80s left flanking along the edge of the hills, I took the other one straight down the middle:

After losing half our Fast Air and Aviation to US Air Defences, the surviving Frogfoots and Hinds made inroads targeting the US Chapparals and VADS.

At this point my 'invulnerable' T-80s started taking losses to ITV TOW-2s lining the northern side of the valley. Ed suggested I use the mobility of the T-80 to get within the TOW minimum range. Great suggestion!

It was unclear where our Motor Rifles would be needed so they kept to the middle of the valley, occasionally firing off a STABBER ATGW up at the hills on either side.

Using T-80s against the US infantry and M113s was great fun until their DRAGON ATGW joined in the fight against my side armour. ERA can only go so far and I lost another couple of tanks:

By this time the SU-25s had all crashed and burned so the surviving Hinds joined in picking off the US ATGWs up in the hills. The US platoons of two ITV proved surprisingly good at passing their last stand checks, unfortunately...

With their Cobras helos placed in delayed reserve, when they eventually arrived on scene deep in the WarPact rear they caused some consternation!

Our Shilkas, up covering the T-80s, were out of range, and our SA-13 Gophers utterly useless! But Ed recalled that my BMP-3s, loitering in the rear, had cannon with an anti-helicopter capability:

It was the turn of US aviation to crash and burn! At this point, having spent a lot of time discussing the the look and feel of the game we are going to present, we ran out of time....

Much useful experience had been gained. We are going to modify the scenario somewhat so that all sides stagger the arrival of reserves, to be determined by a smaller 'covering force' battle the week before the big game. I think both side's Forces lists will be revisited: the US gaining a Spearhead capable force to expand their deployment area, and the Soviets not wasting points on arming T-80s with AT-11 STABBER ATGW when the heaviest thing they will have to face are M-60s!


.webp)


