
I finally completed my Warlord Games Tiger II these holidays and wanted to give her a run-out.

The Wollongong Wargamers are planning to kick off our multi-scale & ruleset linked campaign later in the year: D-Day to the Bulge, with an initial focus on Normandy. So picking that context to get some ideas, one is largely confined to the antics of schwere Panzer-Abteilung 503.

This unit ran a mixture of Tiger I's and II's during that campaign from 11th July. The 14 King Tigers were in the 1st Kompanie. The Battalion as a whole was principally attached in support of the 21st Panzer Div, and had a total of 40 operational Tiger I's and II's at its peak on the 16th July. By early August total runners were down to less than a dozen of both models, so I suspect the company organisation was somewhat relaxed to whatever was available and was nearest the startline for any required tasking...

GROUND: Normandy, France, 9 August 1944, the farm of Chante-Pie in the vicinity of Mont Pincon. A low ridge carries a pavee road that dominates the ground between Le Tremblay and Crepigny.

 The area is dominated with bocage hedgerows and small copses. (My model hedgerows are far to short for 1/56 scale use, so the greenery is taken to represent the rock and earth base, and the actual herbiage is deemed to extend upwards from the base. The physically present hedge, as bank, is therefore hard cover, the invisible upwards extending hedge is soft cover.)
SITUATION: Operation BLUECOAT. At the start of 9 August 1944, the British (probably 5th Royal Inniskilling Dragoon Guards, definitely 7th Armoured Division) continued their attack and headed in the direction of Crepigny. During the afternoon, the Tigers and several assault guns moved out to conduct a counterattack between Le Tremblay and Crepigny...After one and half hours of heavy fighting, the British advance was brought to a standstill. [Tigers in Normandy, Wolfgang Schneider, Pen & Sword 2011, p. 224]

German Forces: (All Veteran) Recon elements: 1 x Puma, 1 x SPW.

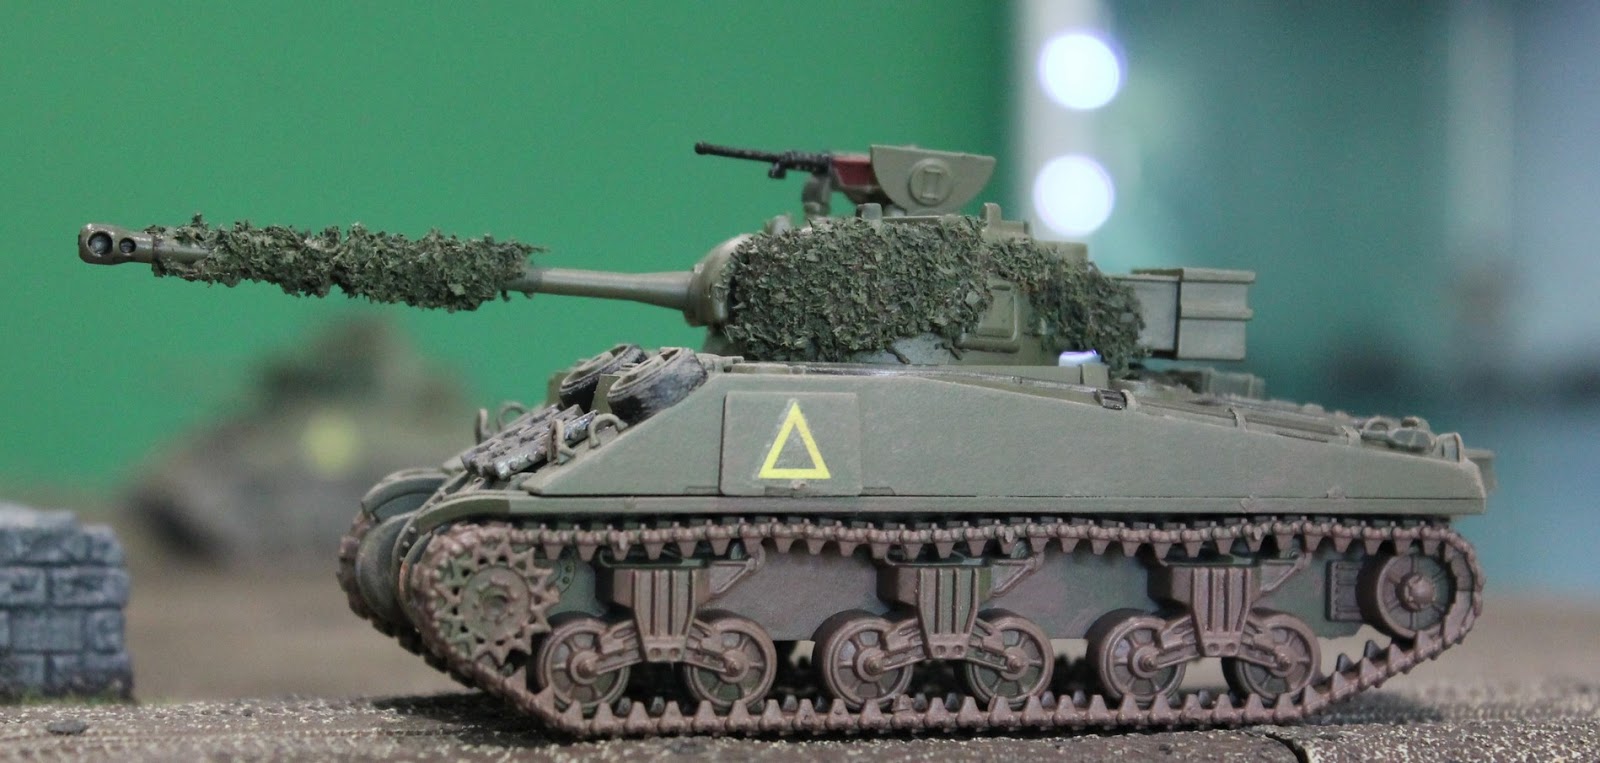
Armour: 1 Tiger II, 2 x Tiger 1. Total 1874 points.

British Forces: (All Regular) 'A' Squadron RIDG: 2 Troops, each 1 Firefly, 2 x Sherman V

HQ Battery 65th (Norfolk Yeomanry) AT Regt. Royal Artillery: 2 x M10 SPAT. Total = 1990.

MISSION: Advance to the ridge in bounding overwatch and pin and neutralise enemy armoured forces using shock and firepower.

EXECUTION: Under cover of the M10s with Ambush orders from a nearby copse, A squadron moved out by troops, one to each track leading to the ridge.

Once at the first line of cover they would halt and suppress any armour seen on the ridgeline.

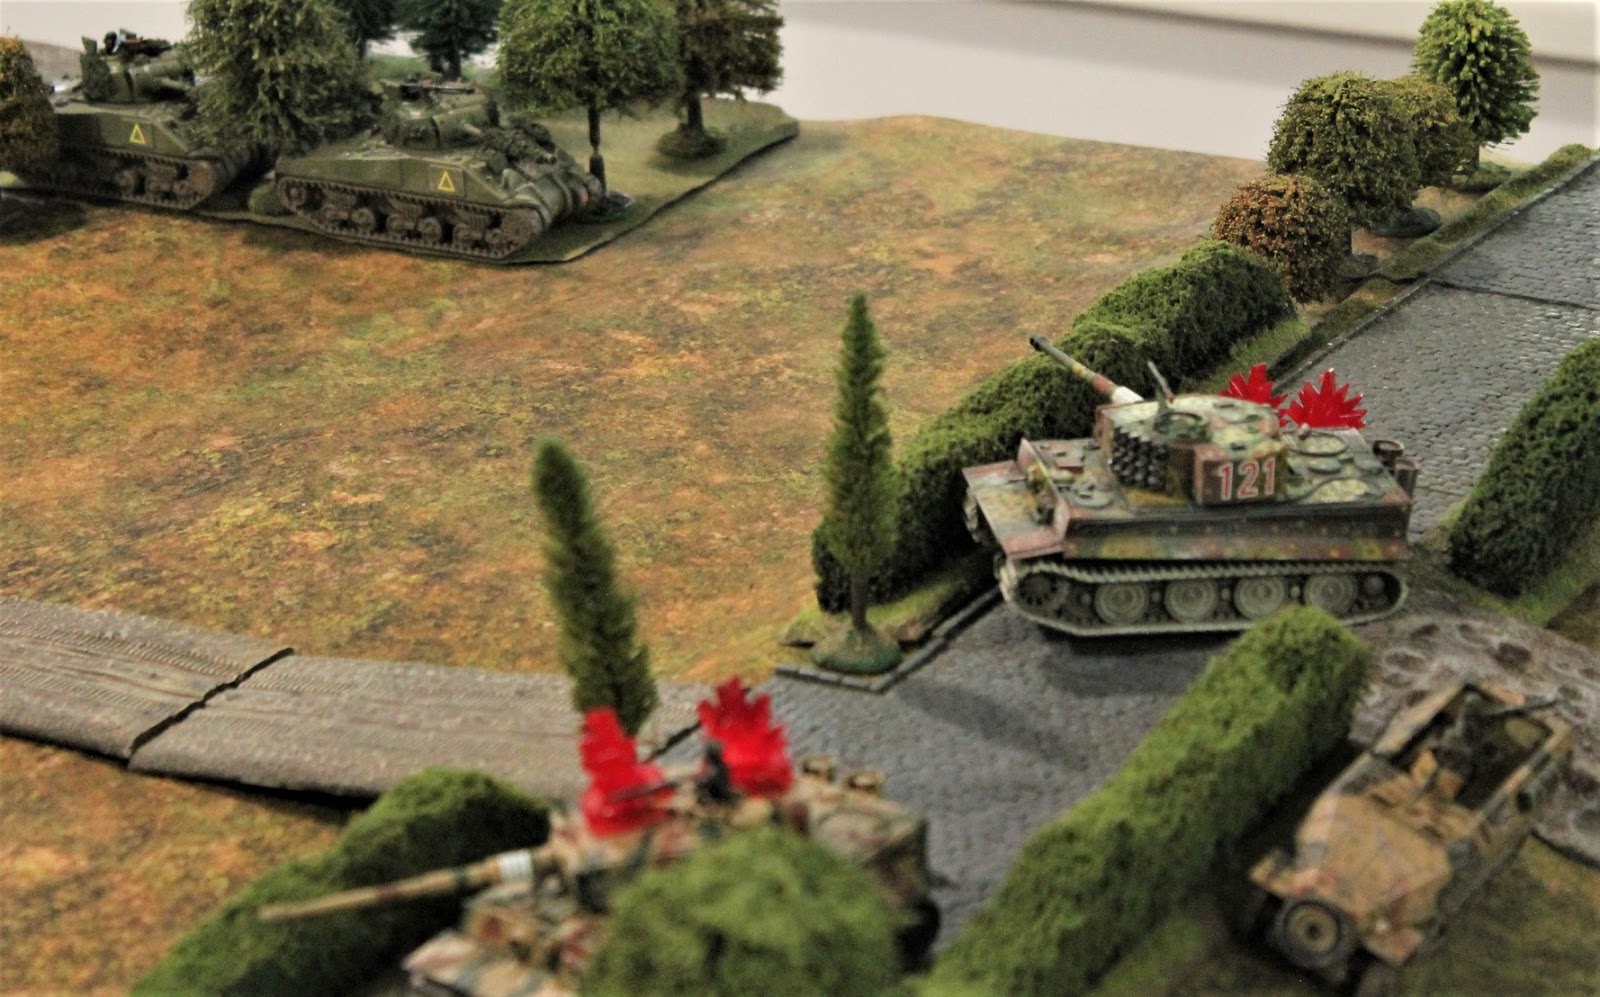
Similarly, with recce elements in the lead...

the Tigers advanced up both sides of the farmhouse, the King Tiger on one side, the 2 Tiger I's on the other...


Despite getting in the first shots from ambush, the M10s failed to score any hits at long range and at targets in heavy cover.

The 2 troops of Shermans scattered for cover!

The Germans also failed to get any first shot hits, so cover was reached.

However the Germans started to find the range...

And got a kill with their third salvo - one of the 2 Fireflys!

The gunners of the Norfolk Yeomanry realised they weren't doing any good at long range and broke from cover roaring up to the next copse...

But without their support, the left flanking King Tiger was able to score another kill...

The one remaining Dragoon's Firefly managed a side shot on a Tiger I, evening the odds a little!

However by this time the right hand Troop was no more...at least the M10s had made it safely to cover....

and were able to stalk and immobilise the King Tiger at effective range.

Similarly on the Dragoon's left flank that Troop had worked its way forward into cover...
and was making life awkward for the remaining Tiger I, eventually starting a fire which caused the crew to abandon it...

Attention now focussed on the remaining Tiger II, which had in the meantime KO'd one M10 and forced the crew to abandon the other. This remaining Sherman Troop would have to do it all on its own, initially at long range...

But some great shooting from the Firefly caused a second immobilising hit on the Konigstiger..

Forcing the crew to abandon - game over!

Beautiful game and wonderful terrain. Very impressed with your AFVs.
ReplyDeleteThanks so much Reese, really appreciate your kind comment!
DeleteLovely models, lovely game.
ReplyDeleteThanks Norm - you are too kind Sir!
Delete