There's a fine balance to be struck when introducing new players to naval wargames - you want to lay on a fine spectacle to inspire them, but you don't want to daunt them with too much complexity...
Unfortunately, complexity is inherent in any realistic naval ruleset! That said, you'd have to go along way to get a set simpler and as much fun as Broadside: Empires of Steel... By the standards of these rules, Dogger Bank 1915 is on the large side - but, with really only one type of vessel to worry about, doable, yet pretty epic!
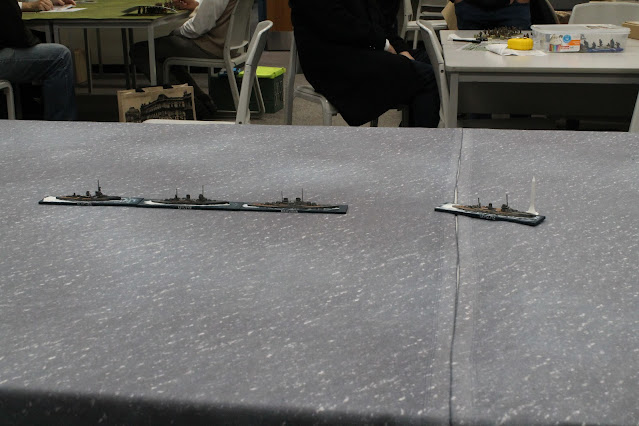
A large table was set up with the emphasis on length to facilitate a 'stern chase' type engagement - Colin as the German player had to get his fleet off his 'home' short table edge (Battle Cruisers SMS Seydlitz, Derflinger, Moltke and Armoured Cruiser Blucher)
whilst the British had to destroy as many ships as possible first!
Whilst the Germans started with all their ships at the table centre, only the first RN division of fast third generation 'Splendid Cats' were on table (HMS Lion, Tiger, Queen Mary)
 |
| HMS Tiger |
with the first and second generation Battle Cruisers lagging behind immediately off table (HMS Australia and Indefatigable) ...They would have to play the 'More Speed' order cards pretty smartly if they were to get into the game!
The British team held the initiative for the first couple of moves, and Darren lost no time in opening fire with the splendid cats...
Starting to achieve a 'ladder' on Seydlitz...
However Colin as the German player was all over using the 'Come About' or 'Evasion' orders to shake off those splash markers, as the German fleet realised it was heading into a trap and it was time for a brave retreat...
Not without getting in some retaliation first!
Lion, Tiger and Seydlitz were dishing out and receiving serious damage...
As the German fleet made good its battle turn away and prepared for the race back home, in the confusion of the fire fight both Lion and Tiger blundered into the adjacent minefields (strayed off the table)...
 |
| HMAS Australia |
Peter, commanding the Rear Division of the slower Australia and Indefatigable, whose Stokers worked miracles to give them an extra couple of knots, was finally able to come up with range to support the now solitary Queen Mary, who was straddling Seydlitz.
Seydlitz, by now a blazing hulk well down at the focsle, finally disappeared below the cold gray North Sea...
Good shooting Queen Mary!
Unable to inflict any critical machinery or steering damage on the remaining German ships, who were fast disappearing over the horizon, the chase was abandoned and boats lowered to rescue Seydlitz's survivors.
The lads enjoyed the game, and asked for more - job done!


Great stuff. Your prints look very crisp....are they resin? I notice the diagram had some destroyers in it.....did you omit for ease of play?
ReplyDeleteAny tips to running broadside? I haven't really dug into it too much since I got the kickstarter. Wasn't sure what the best east into play option might be. This scenario might be just right!
Thanks mate! These ships are resin from War Times Journal. Yes we omitted the light forces to simplify the scenario somewhat. With Broadside I think just play the 4 ships in the Warspite kickstarter - should give a balanced and fairly quick game if you set up one of the basic scenarios you can find on their website.
Delete