

These holidays I played through Ken Camel's Sandomierz scenario, adapted for my available 15mm models. This action took place in Poland on 13 August 1944, the day after the famous Ongledow engagement, and saw Tiger IIs pitted against IS-2s. Historically, honours were about even. The Red Army (71st Independent Tank Brigade, 1st (or 3rd???) Guards Tank Army, 1st Ukrainian Front) has established a bridgehead across the Vistula, and the Germans (501st Heavy Panzer Bn) are tasked with attacking and eliminating it.

My layout also varied slightly from Ken's map above, but I hope caught the general gist.

At first glance it seems unusual to have the protagonists deploy next to each other, but once you assess the cover it all makes sense - the IS-2s, having the second turn, need to start in cover, which can only be found towards the centre of their deployment zone.

Ken's original scenario provides both a cut down and full orbat, the second of which I'd like to do justice to in 1:144th scale, but for this game I cut them down even more. The 71st had just 10 IS-2s...
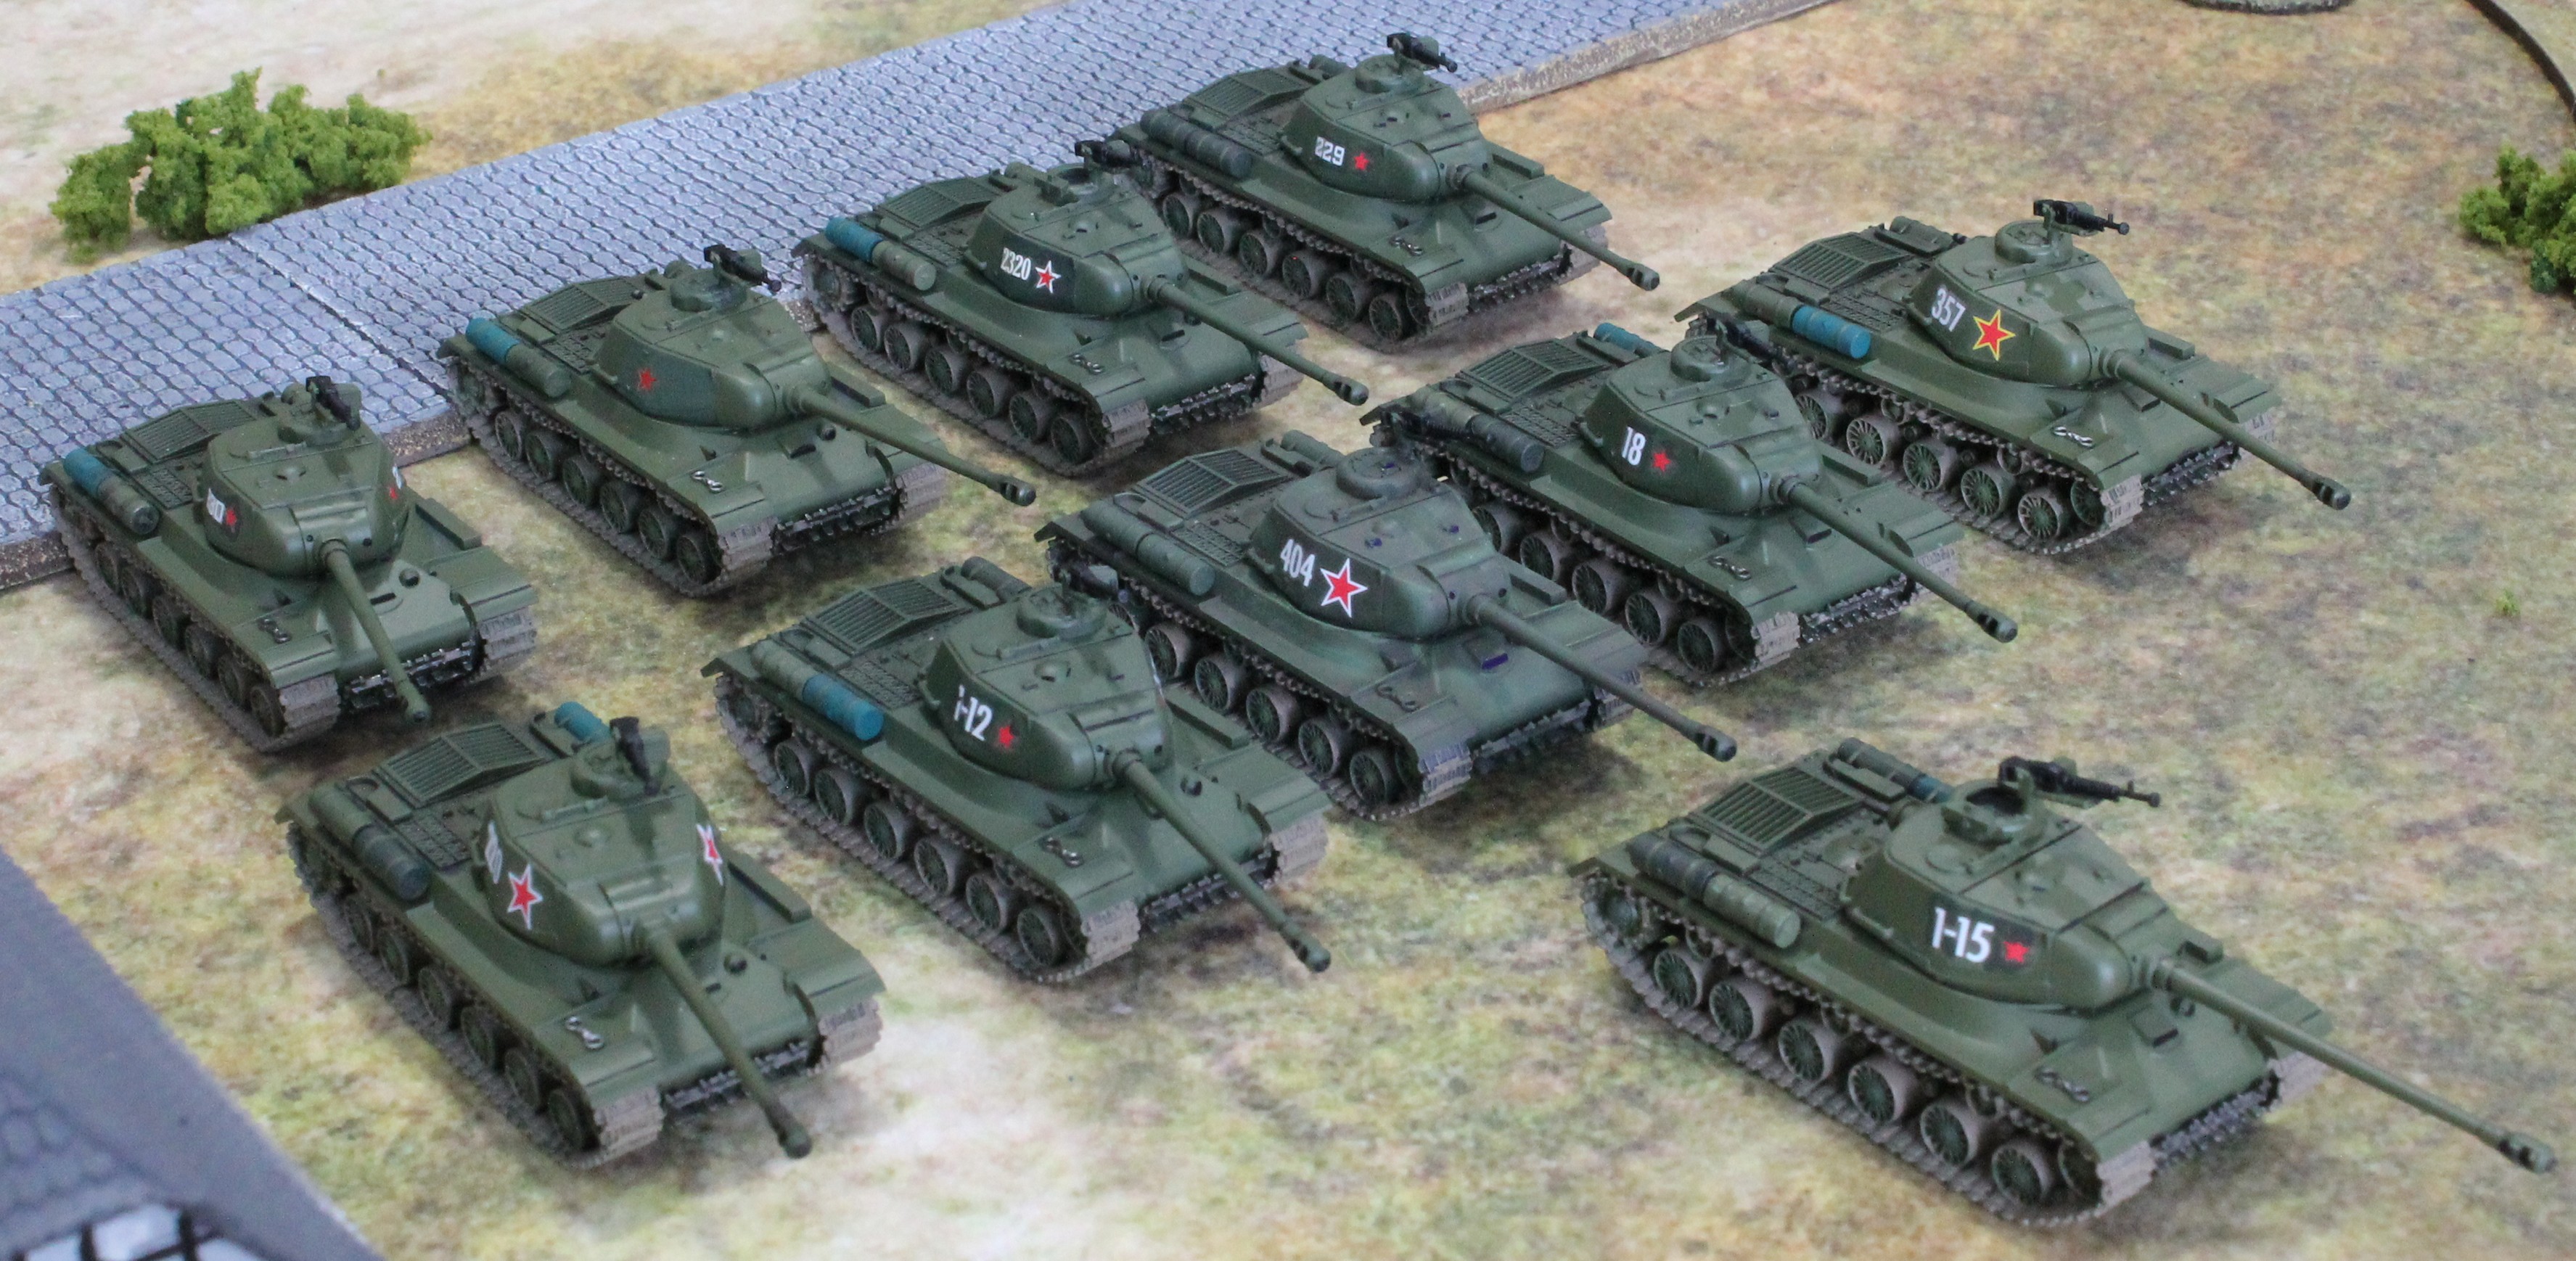
Supported, in delayed reserve, by five SU100, for a total of 105 points.

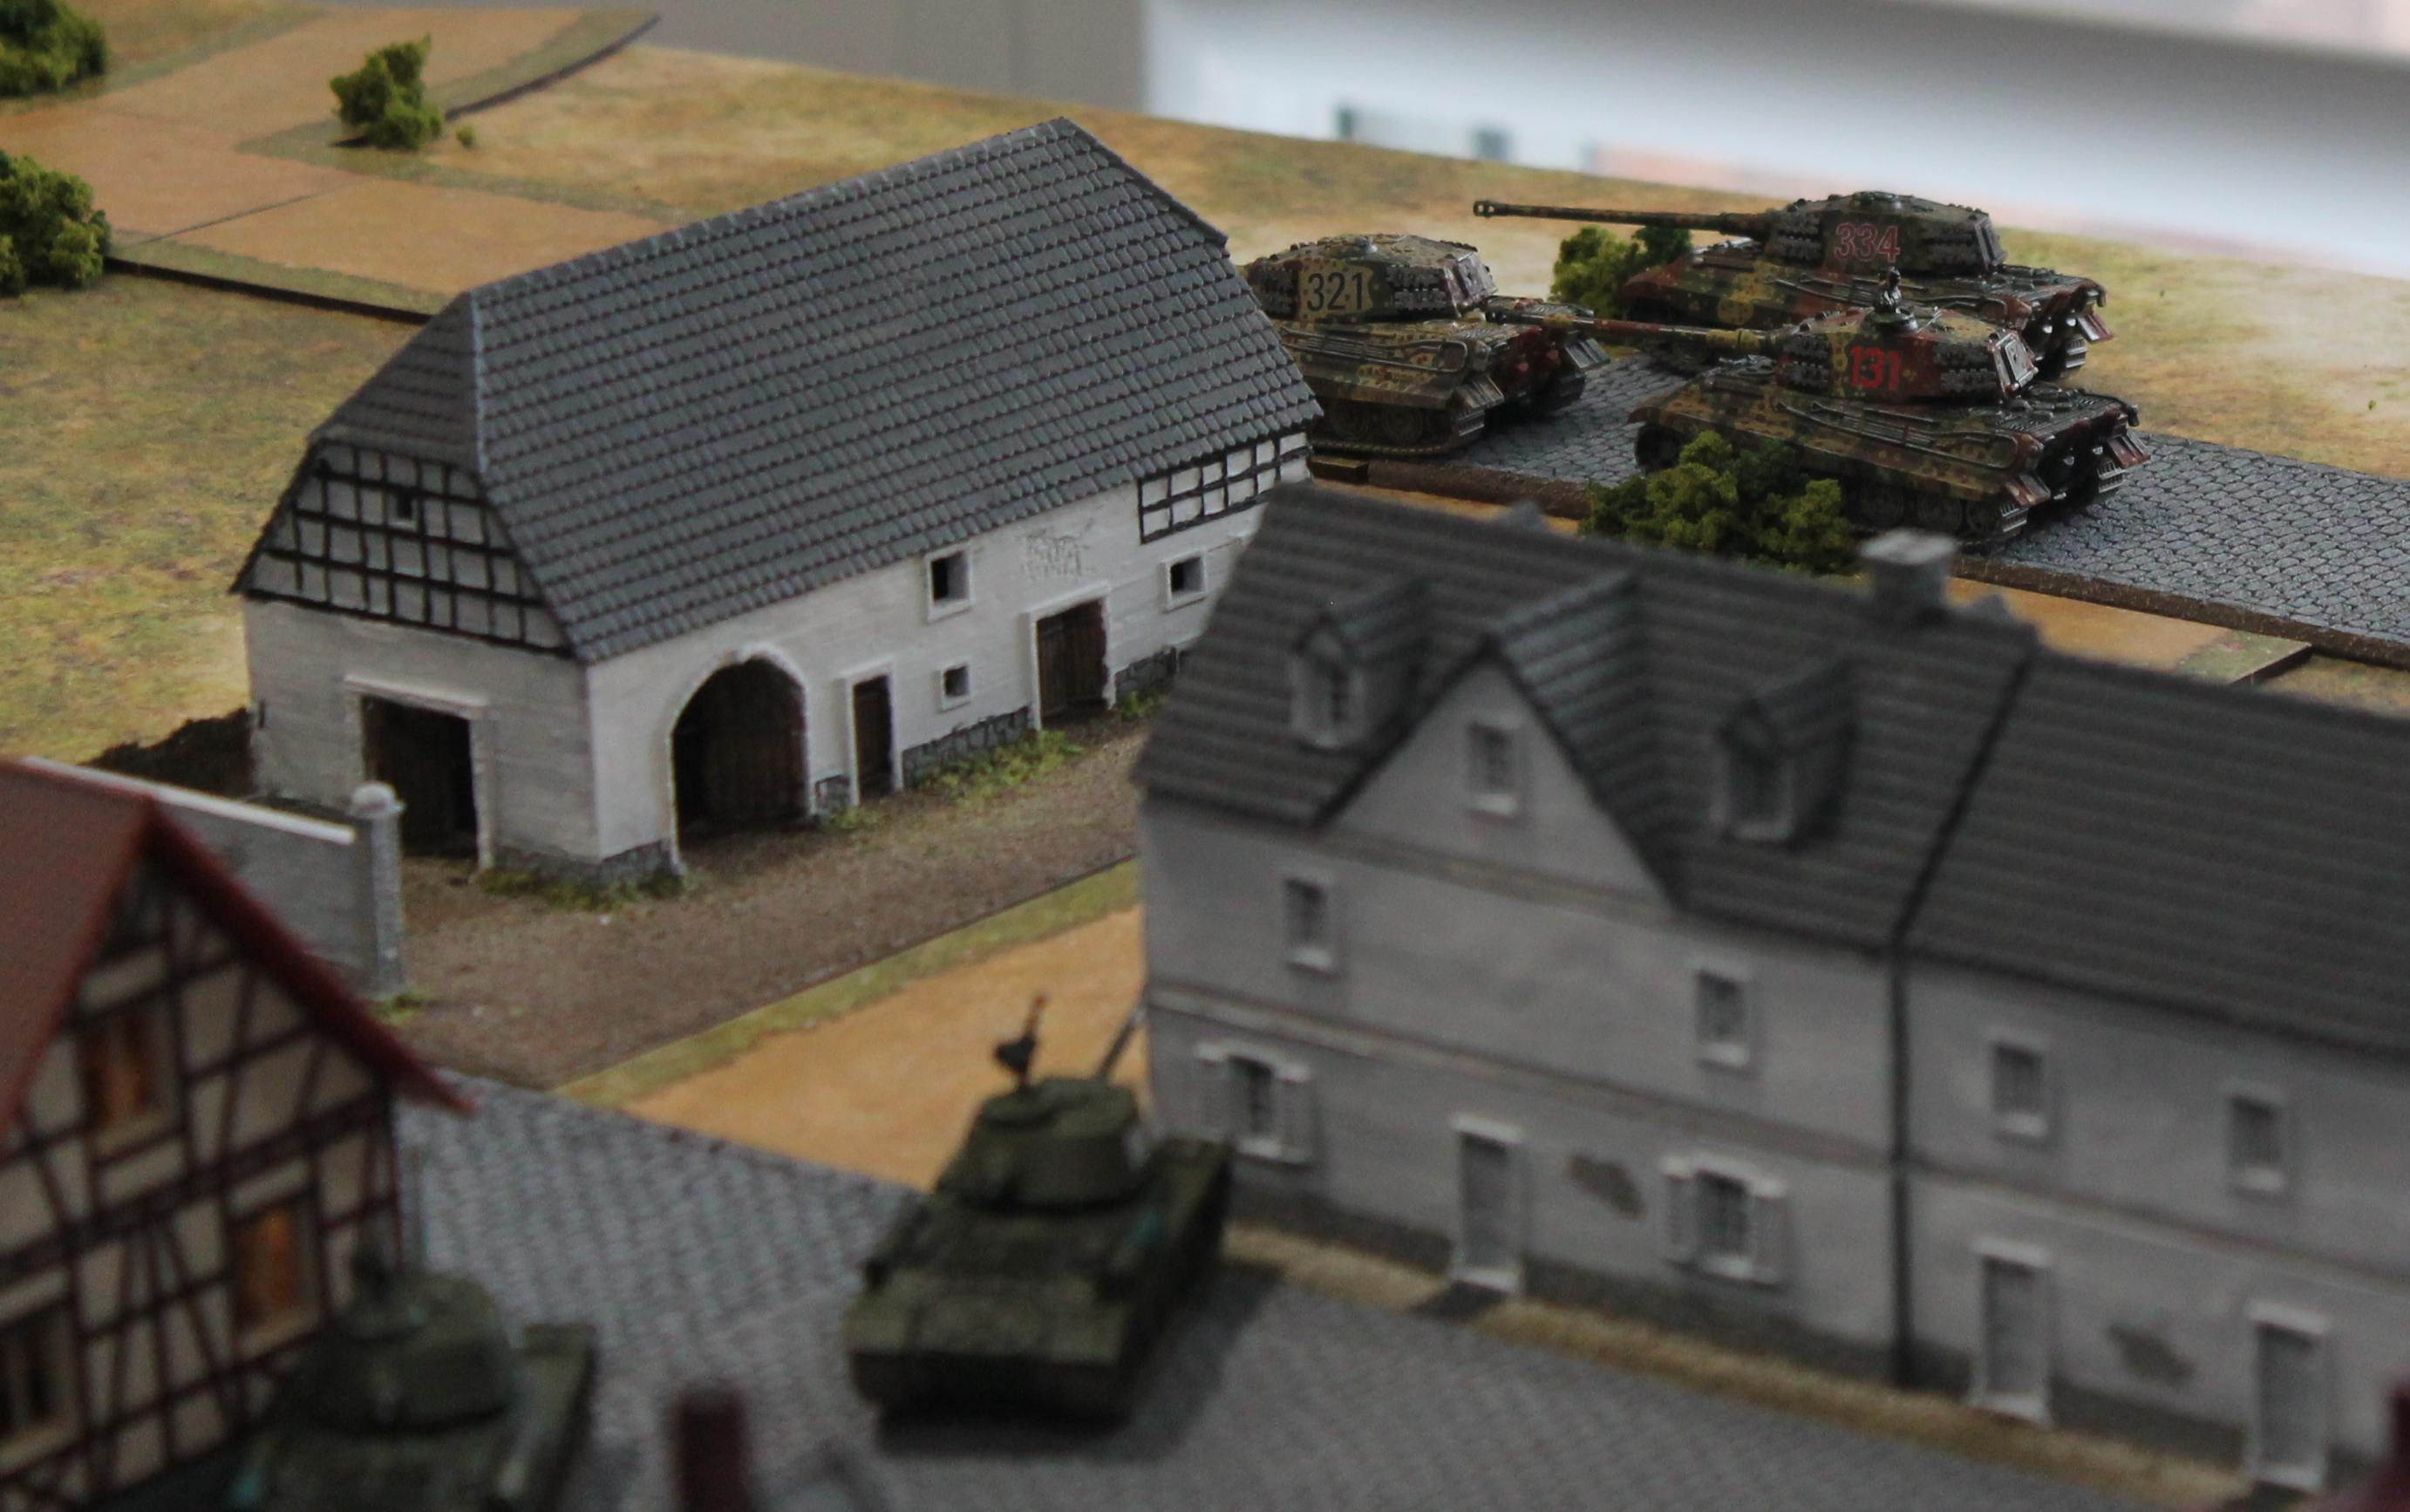
For the Germans, the 501st were represented by just three King Tigers...

And four JagdPanthers, also in delayed reserve. 102 Points.

As attackers, the 501st got the first move, and, blitzing forward, opened up at long range on the IS-2s set up in the wheat field to the north-west of the town.

These six long range shots knocked out two IS-2s, and the remainder of that company wisely withdrew out of range, back over the bridge...

seeking the cover of the timberline to their rear!

Meanwhile, the other IS-2 company made good use of the road network to put the town between themselves and the deadly Tigers!

Using the town as a covered approach, the plan was to sneak up on the Tiger's (relatively) weaker side armour...The Formation commander's IS-2 remained in cover in the centre, linking the two companies and taking the Tigers under frontal fire.

Whilst the Tigers were content to slowly blitz forward and engage the IS-2s to their front, the plan to outflank appeared to be be working well for the Red tankers...

But their first volley, attenuated by the 'slow fire' of their 122mm monster guns, failed to get any hits!
The German response, even from just the one Tiger...

was more effective!

To add to the bad news, the JagdPanthers successfully rolled to come on table - in just the right spot to catch the tail of the IS-2 company:

Scoring a first round hit...

and catastrophic penetration!

However, it wasn't just the Germans who had reserves turning up in the right place at the right time:

And this time the Red Army gunners were bang on target!
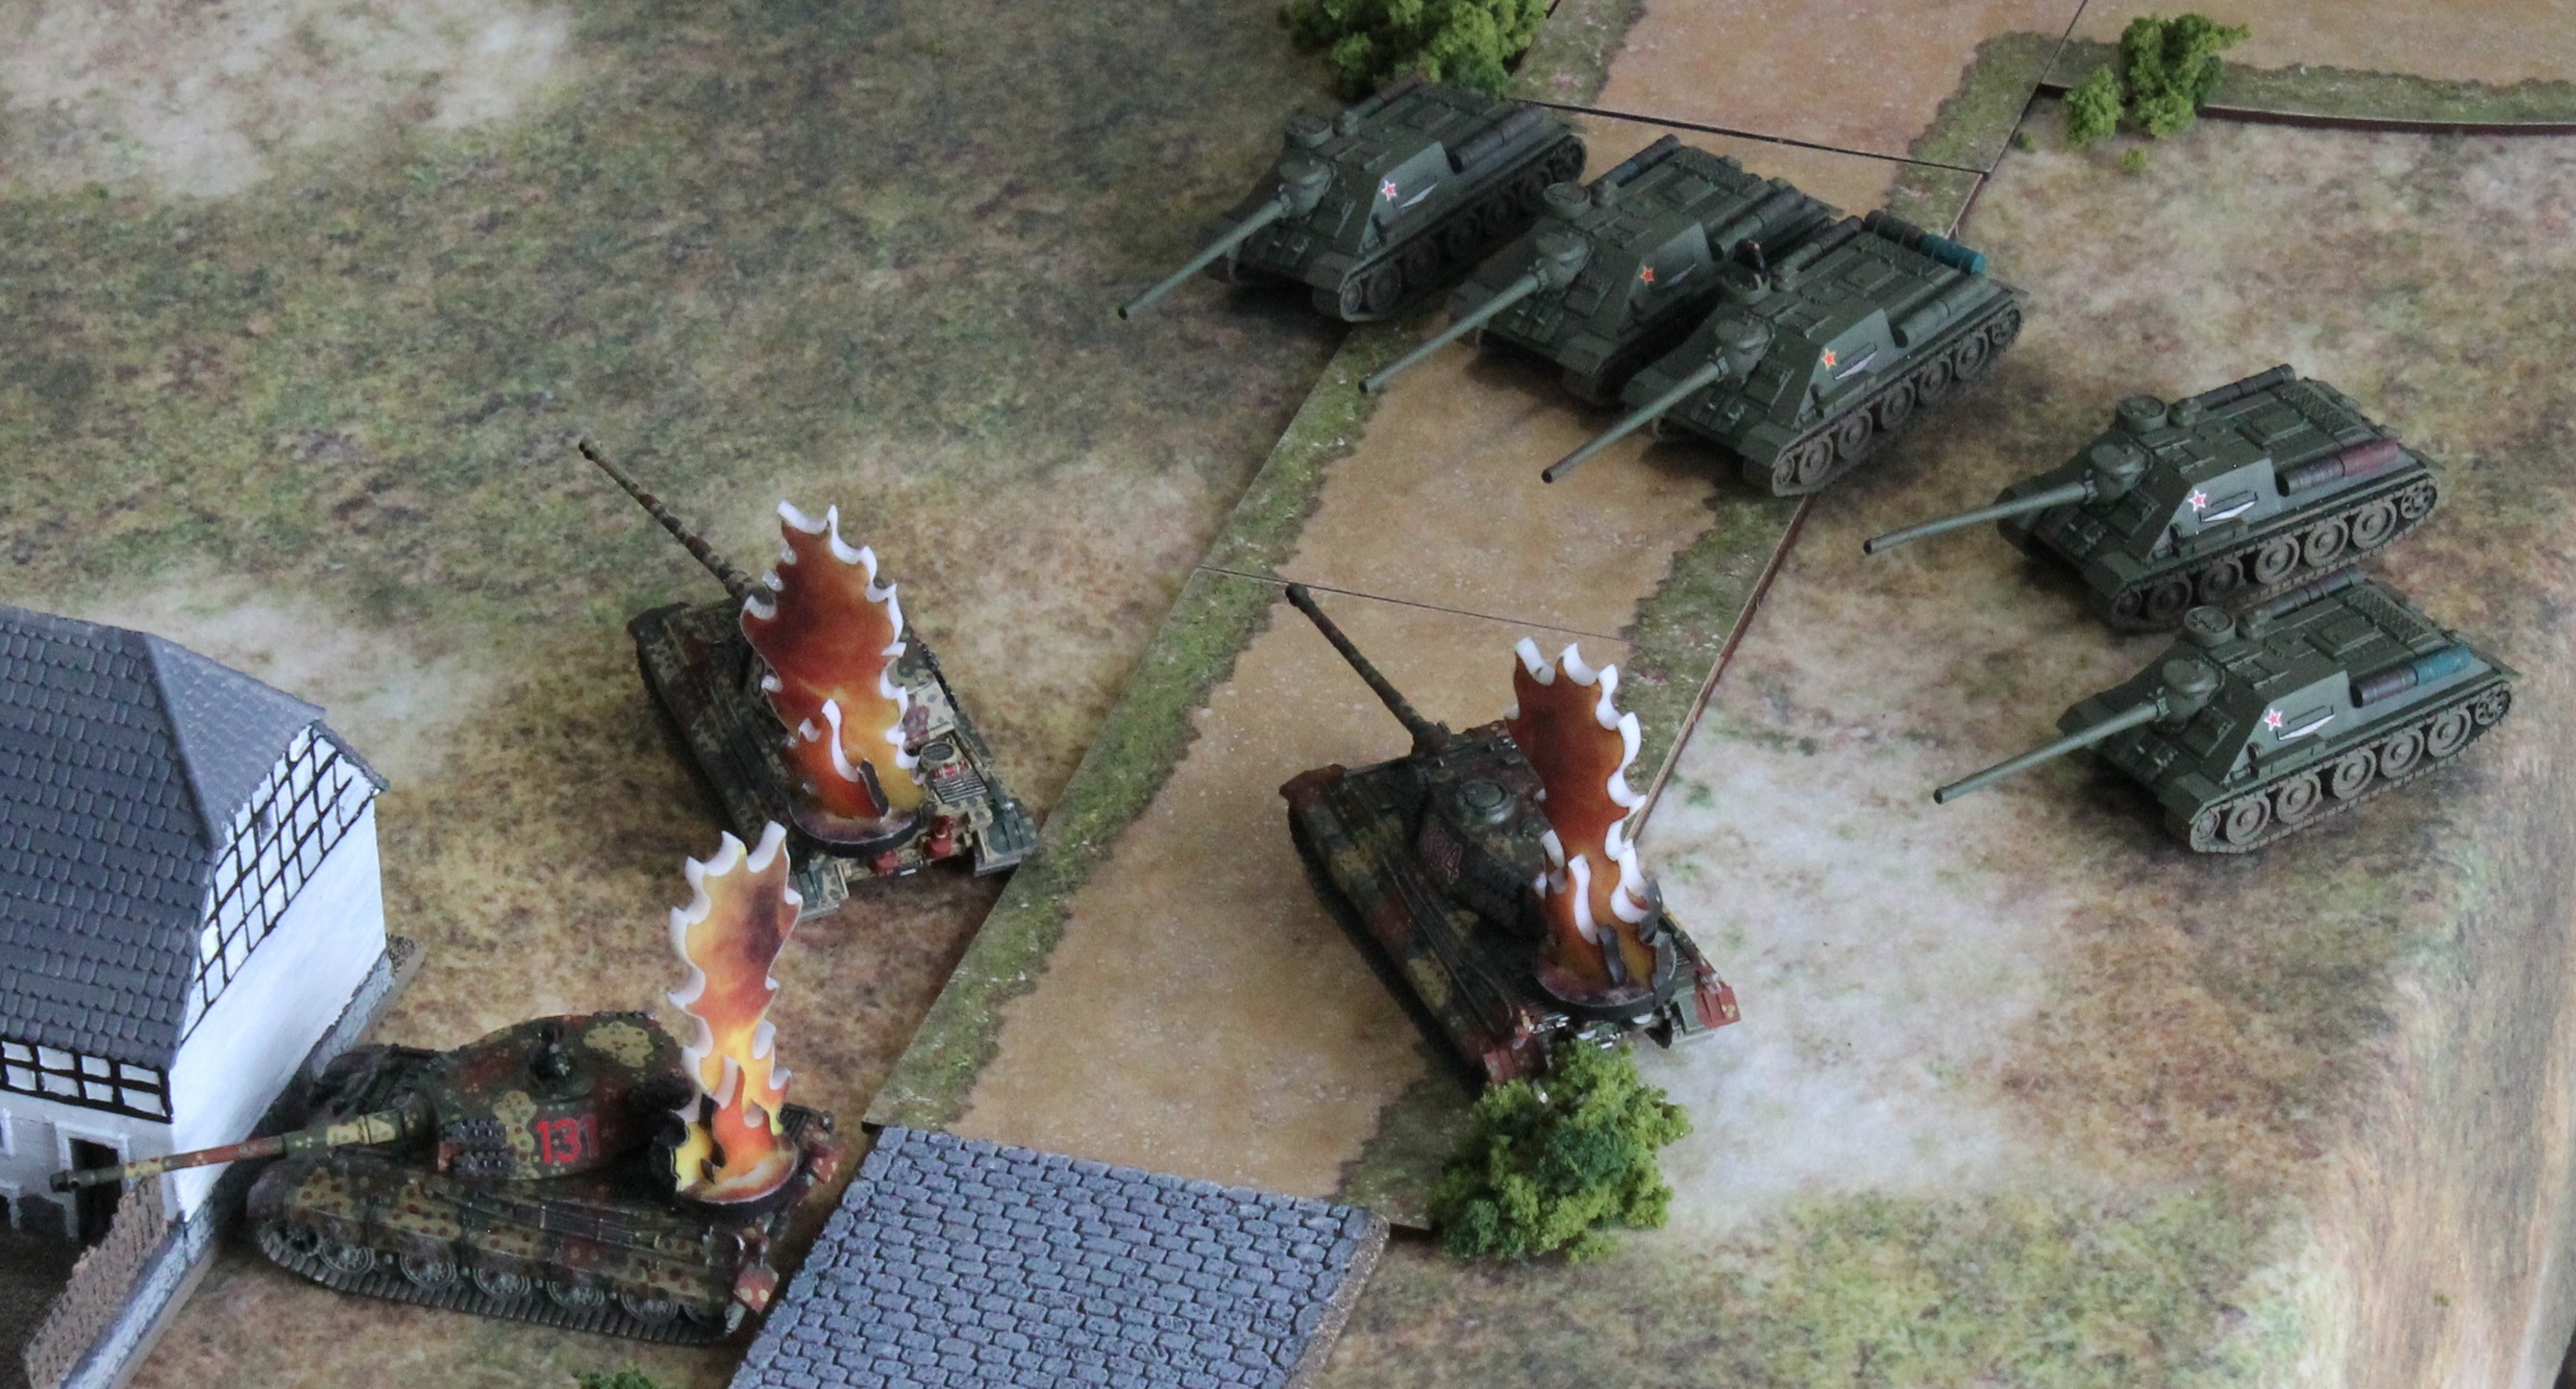
With the main threat eliminated, the IS-2s also starting seeking payback...

Stalking the JagdPanthers through the town...


But the JagdPanthers used a surprising turn of speed to motor towards the objectives - if they weren't within 8 inches of an objective by turn 6 it was game over! The SUs tried to intervene at long range...

But failed to stop the objective coming under German control....

This is a great scenario, one that I hope to revisit with the more comprehensive orbat in due course...
Enjoyed, thanks. Your vehicles are very nicely painted and shaded. I spotted the Epic building, which fits in very well with the tank size on the table, more-so than it does with the actual Epic figures (but then I am only using 2 bases per regiment, which I am coming to feel is a little on the mean side).
ReplyDeleteThanks Norm, very kind. Yes, well spotted, IIRC its the Belle Alliance model. I agree, better for 1:100th/15mm rather than Epic/13.5mm!
DeleteSome HEAVY armour there! Beautifully painted models, especially German camo scheme.
ReplyDeleteThanks mate very kind!
DeleteLovely looking game there and those tanks and assault guns look brilliant, especially the German camo schemes:).
ReplyDeleteThanks Steve much appreciated. I find the German late war 'ambush scheme' fairly easy to do, given enough time - its the 1943 wavy stuff I always stuff up!
Delete