
This week the Wollongong Wargamers returned to Broadside: Empires of Steel for some WW1 Naval Action! I didn't have time to work up a historical scenario so picked a particularly interesting scenario from the free Mission pack available in the downloads section.

Imagine if you will the German High Seas Fleet, congratulating themselves after having pounded another militarily valueless English coastal town to rubble, suddenly realising that the Grand Fleet is bearing down on them - time to leave while the going is good!
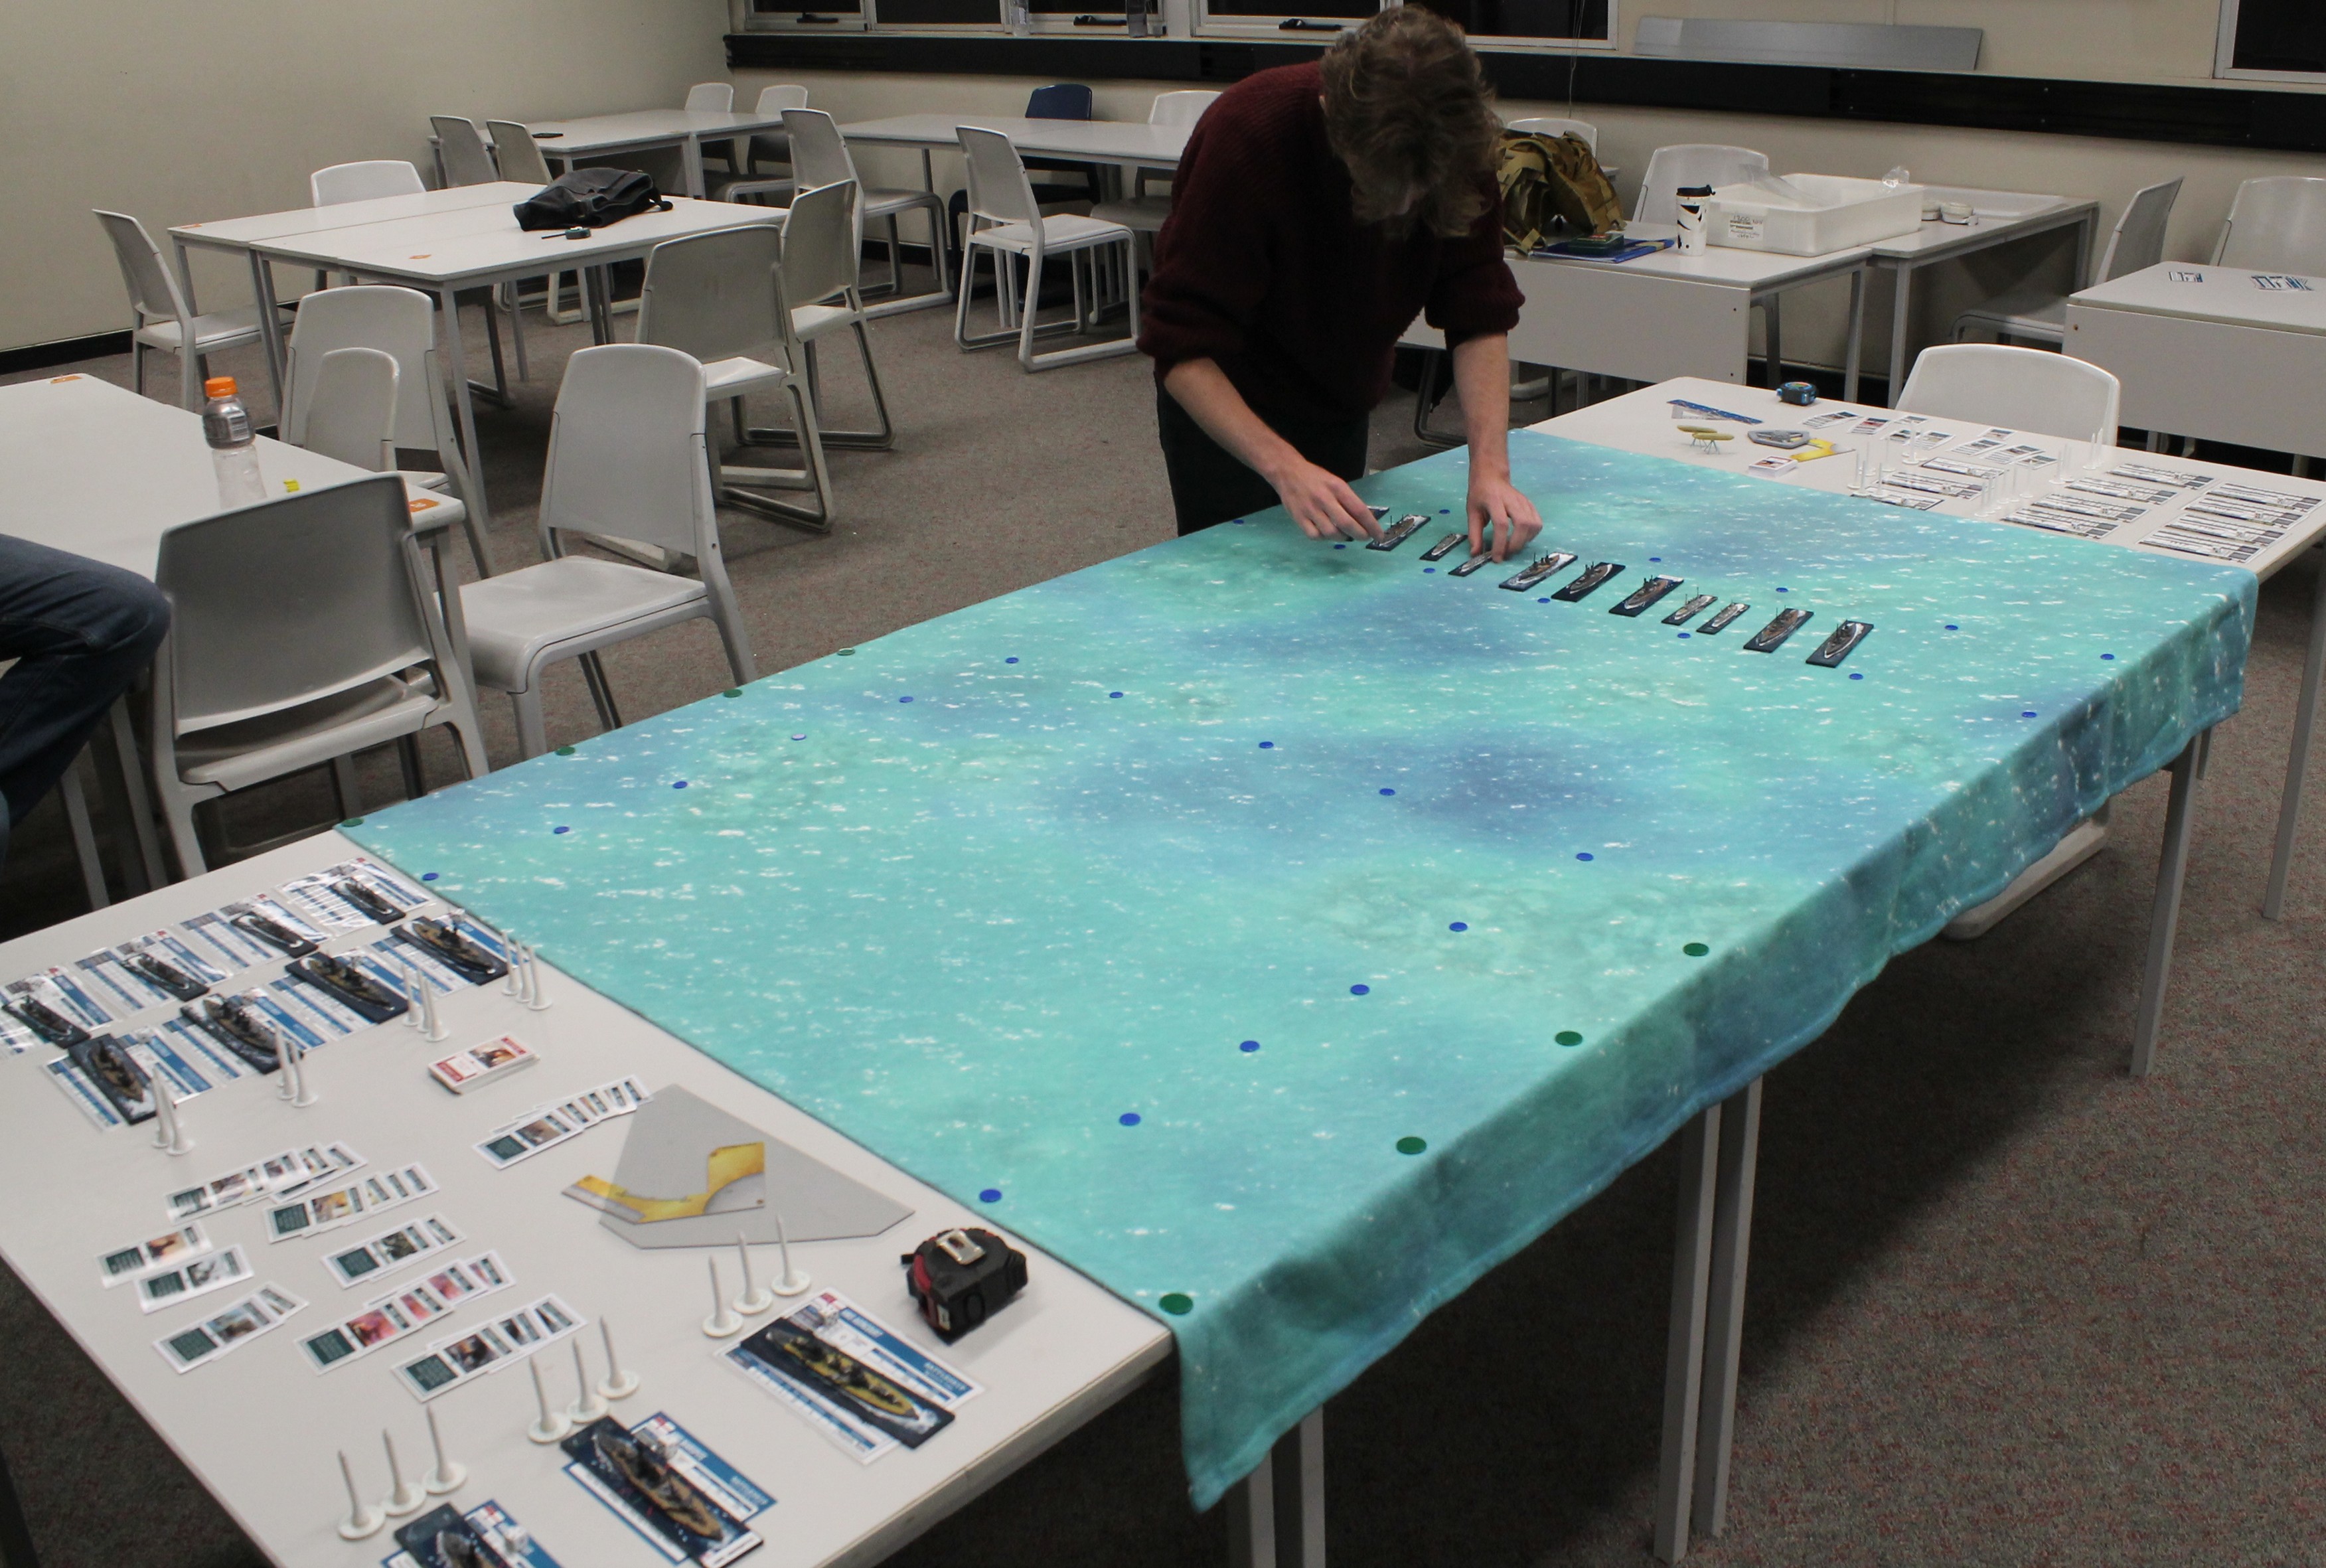
Bailey is deploying the German fleet within its deployment zone. They have to reach the blue box by turn 6 or be considered sunk. The British BCs and Light Cruisers will come on on the far narrow table edge, the RN Battlefleet from either of the green zones - maybe!

The German fleet disposition presented a fine tactical conundrum - should they place their heavier units on the flanks to cover both likely approaches from the British heavies and shelter their weaker brethren, or place them in the centre so their bigger guns could cover both arcs, albeit less effectively?

The Germans also had a Zeppelin in support, which opted for a scouting role in its first pass, giving them a +2 to their initiative roll - which was handy!

The British pursuit begins - a stern chase is on, so gunnery tended to be limited to forward or after arcs, with targets presenting a limited profile. Nevertheless, damage to some ships steadily mounted...

For its second pass the Zepp attempted to drop bombs on the Australia - how rude! - it fought through the rather anaemic Ack Ack, scored a hit, but inflicted minimal damage.

Once again owing to limited prep time I let both team choose their ships, so naturally the more powerful units were much to the fore - I think the RN featured most of the Big Cats: Lion, Tiger, Queen Mary - only the Princess Royal was absent from a full cat-house!

Naturally the Warspite featured too, as did the Bayern and Derflinger!
By turn 3 the bulk of the German fleet was approaching its safe place...

whilst the British reinforcements were only just starting to appear...

That's not to say the Germans didn't strive mightily to nip the British reinforcements in the bud!

But the tide was against them as the RN crossed their 'T'!

With my habitual megalomania I had designed the scenario with far too many ships for just 4 players. Next time I shall either halve the number of ships or encourage double activation. But for now we agreed the fourth turn would be the last. The Germans had lost one ship but were set fair to reach safety, whilst the Australia had just one point of hull integrity left. Naturally Bailey had to have another go at bombing her. She fought through the AA, but this time missed with the bomb!

An interesting scenario..bit different 👍
ReplyDeleteThanks Jim - yes some lessons learnt - too many ships!
DeleteGreat report and cool to see a Zeppelin in the mix. It helps with initiative and bombs ships, right?
ReplyDeleteThanks Caesar! Yes there are 3 missions aircraft can perform: scouting - which if successful gives that side +2 for the initiative roll; bombing; and search operations to find minefields or subs...
Delete