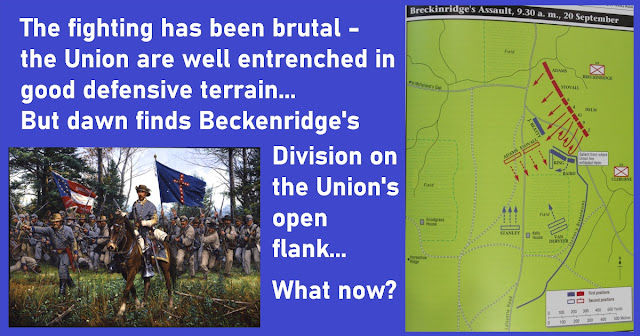
I am reasonably confident the infantry formations and dispositions are accurate. However the presence of the artillery on both sides at this point is conjectural, but added to the scenario to enliven matters... Breckenridge's divisional artillery (Cobb and Graves' Kentucky batteries, Mebane's Tennessee and Slocomb's Louisiana batteries, all under the command of Major Graves) presumably threw some heavy metal down range at some point during the proceedings. I have also presumed to attach half the US 4th Division's artillery to King's Brigade.
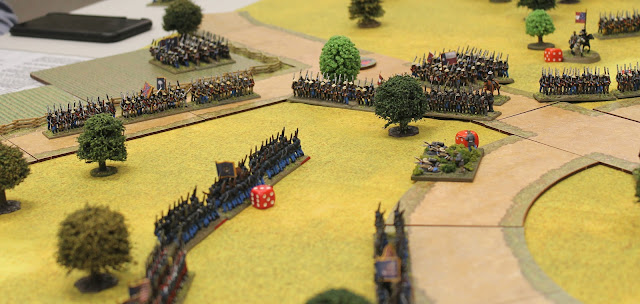
The Union view: Beatty's Brigade and half of King's brigade are sans earthworks, but virtually the whole table is covered in woodland which gives light cover.
Breckinridge's Boys step off...
Forming into march columns the better to push deep into the gap:
They get to the first objective with the firstest and the mostest!
Beatty's Union Brigade, at the shoulder of the gap, moves fast to stem the tide...
But regiments arrive piecemeal..
The 104th Illinois get stuck into the rebs right away, and at first things go well! The Confederates take a defeat point.
But they are soon surrounded by the surging Rebel high tide...its now our turn to have a wavering brigade and a defeat point!
Fortunately my Union partner David, on the right, takes the time...
To get King's Brigade up as a coherent formation to replace my, now decimated, Beatty's Brigade:
And secures the centre objective. Both armies have a defeat point and hold one objective, and the other objective is covered by the Union. A minor Union victory!


Fabulous looking game!
ReplyDeleteThanks mate very kind!
DeleteI really enjoy the way you present scenario posts, I have of course read it twice🙂
ReplyDeleteThanks Norm really pleased you enjoyed it!
DeleteLike Norm, I really love the way you present these scenarios Ralph:). All very professional looking and the games just tick those boxes of visual appeal but one that we can all easily achieve at home or the club. Keep up the good work!
ReplyDeleteThanks Steve very kind - yes I try to maintain a clear distinction between what can be achieved in an evening game and the larger 'all day big bash'! The latter are all too infrequent alas!
Delete