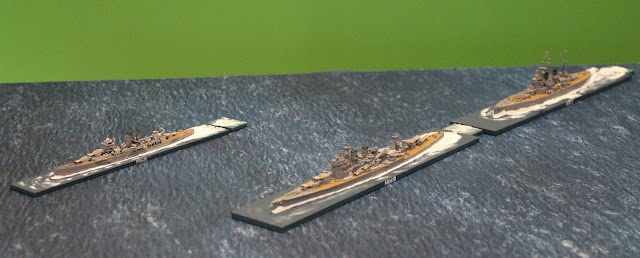
Whilst we've played Victory at Sea - Pacific at the uni with my 1:2400 scale minis, this game was a try out for my rapidly growing collection of 1:1200 scale minis. How do they appear and work on a 8 x 6 foot table, doubling all distances?
 |
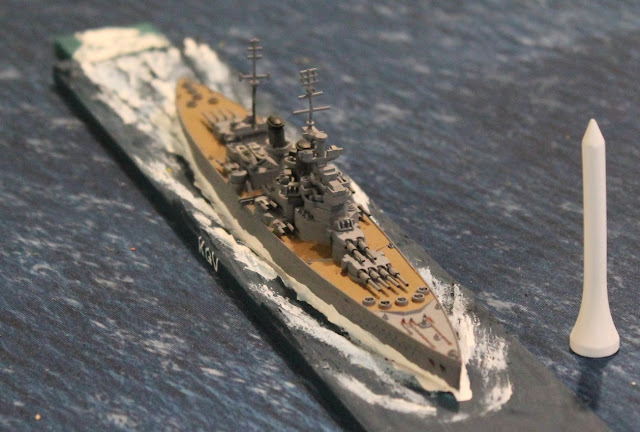
| The RN Task Force flagship - fast, well armed, but touchingly vulnerable? |
The models themselves are sourced from a variety of sources: Revell plastic kits, Shapeway's Tinythingamajigs, and XP Forge, although all of the latter are still in dock having their bottoms painted...
 |
| With its after turret still in dockyard hands, the KGV was free to fight head on with a low profile! |
 |
| The heavy cruiser York wasn't actually feeling all that heavy at this time... |
The chosen scenario was Breakout for the Bismarck, and Defence Line for the RN force: think Channel Dash!
Essentially the Bismarck had to sail off the British edge of the world, the RN had to sink or cripple her first...
 |
| The monster slips out from its French lair... |
Given the Bismarck's immense toughness - 102 hull points - and the double distances I was applying, I initially thought the scenario would be an easy one for this monster...
Particularly as I had balanced points slightly by declaring the King George V's aft turret u/s, and adding +3 to any Critical Hit roll the Hood might have to make - catastrophic magazine explosions are not unknown unfortunately!
As an aside, I would like to mention the late Lieutenant Ted Briggs RN, who, as a young Signalman, was one of the few survivors of HMS Hood's explosion and sinking at the Battle of Denmark Strait. As OiC RN Communications School, it was my great privilege to host Ted at several mess dinners, and great company he was too!
The RN Task Force's intention is to form an anvil around Bismarck, so that at least half the force can shoot at her large profile.
The plan paid off, despite a sticky few moments for the York when she carelessly fell within arc of Bismarck's aft 15"ers...
The Hood got in some good shooting from the start, and the damage on the Bismarck began to mount significantly...I am really impressed with how Damage Control works with Victory at Sea rules. Thankfully I've never had to contend with DC ops at sea for real, but I have experienced plenty enough realistic and intense RN training, thank you very much, and the Bismarck was experiencing that similar 'hockey stick' escalation as uncontained fires quickly spread throughout the ship - nasty!
And indeed it was the Bismarck, not the Hood that suffered catastrophic damage, in the form of a damaged rudder forcing only starboard turns. Now unable to make for the far table edge, and with her weapons systems only firing intermittently, her gallant skipper had no choice but to select a Tactical Withdrawal off the near table edge. The monster had been turned around and allied shipping was safe from surface raids!


Nice pictures, impressive details on these ships...
ReplyDeleteThanks Phil!
DeleteA classic encounter! The models look great and the larger table just works so well too. Interesting to hear you double ranges, I may dabble with this too.
ReplyDeleteLastly what an honour to host a survivor of HMS Hood.
Stay safe, best wishes,
Jeremy
Thanks Jeremy, I'm relieved that the big models looked good on that table. Yes we were all very priviledged to have Ted as part of our Naval Communications community. He was a true gent and great fun!
DeleteLovely stuff.
ReplyDeleteThanks mate!
DeleteDear Ralph,
ReplyDeleteI really like the idea of using the larger ships and increasing the scale. You get the attractiveness of the models (oh and what magnificent ones they are, delightful) without having to play the game in the back yard so as to have the scale anything like correct. I'd be happy to suspend disbelief in that 'distances are further than they look' in order to actually see the ships on the same table. Beaut stuff.
(You probably have to quadruple the scaled distances don't you so that it does not end up being like an age of sail battle? Provided the models don't end up so close that it looks like one!)
Regards, James
Thanks James, good to have confirmation that it doesn't look too odd in this scale. I'm toying with various options around distances...
Delete